Hummingbird Cake

“We just need to find three hummingbirds and we will be ready!” I say to Whitaker as we are finishing up at Whole Foods.  “WHAT!?!”  Oh, his look was priceless and he was fully questioning everything about my baking at this point.

Hummingbird Cake is a staple of the south.  There is something about the pineapple, bananas, cream cheese frosting, and pecans that welcome the spring.  I fell in love with this cake about a decade ago while living in Virginia. Then I started making it for Easter each year.  You just need one slice of the rich cake to understand why it is looked forward to at our home. 
For planning purposes, you can make the cake layers ahead of time. You can freeze the layers until you are ready.  Then create your cake when ready.

Fun Tip:  Find a fun cake stand to display your cake on.  There is something special about a great cake stand.  

Hummingbird Cake

Cake Layers Ingredients:
3 cups all-purpose flour, plus more for pans
2 cups granulated sugar
1 teaspoon salt
1 teaspoon baking soda
1 teaspoon ground cinnamon
3 large eggs, beaten
1 1/2 cups vegetable oil
1 1/2 teaspoons vanilla extract
1 (8-oz.) can crushed pineapple in juice, undrained
2 cups chopped ripe bananas (about 3 bananas)
1 cup chopped pecans, toasted
Vegetable shortening

Cream Cheese Frosting Ingredients:
2 (8-oz.) pkg. cream cheese, softened
1 cup salted butter or margarine, softened
2 (16-oz.) pkg. powdered sugar
2 teaspoons vanilla extract

Cake Topping:
3/4 cup pecan halves, toasted

Prepare the Cake Layers: Preheat the oven to 350°F. Whisk together flour, sugar, salt, baking soda, and cinnamon in a large bowl; add eggs and oil, stirring just until dry ingredients are moistened. Stir in vanilla, pineapple, bananas, and toasted pecans.

Divide batter evenly among 3 well-greased (with shortening) and floured 9-inch round cake pans.

Bake in a preheated oven until a wooden pick inserted in the center comes out clean, 25 to 30 minutes. Cool in pans on wire racks 10 minutes. Remove from pans to wire

Prepare the Cream Cheese Frosting: Beat cream cheese and butter with an electric mixer on medium-low speed until smooth. Gradually add powdered sugar, beating at low speed until blended after each addition. Stir in vanilla. Increase speed to medium-high, and beat until fluffy, 1 to 2 minutes.

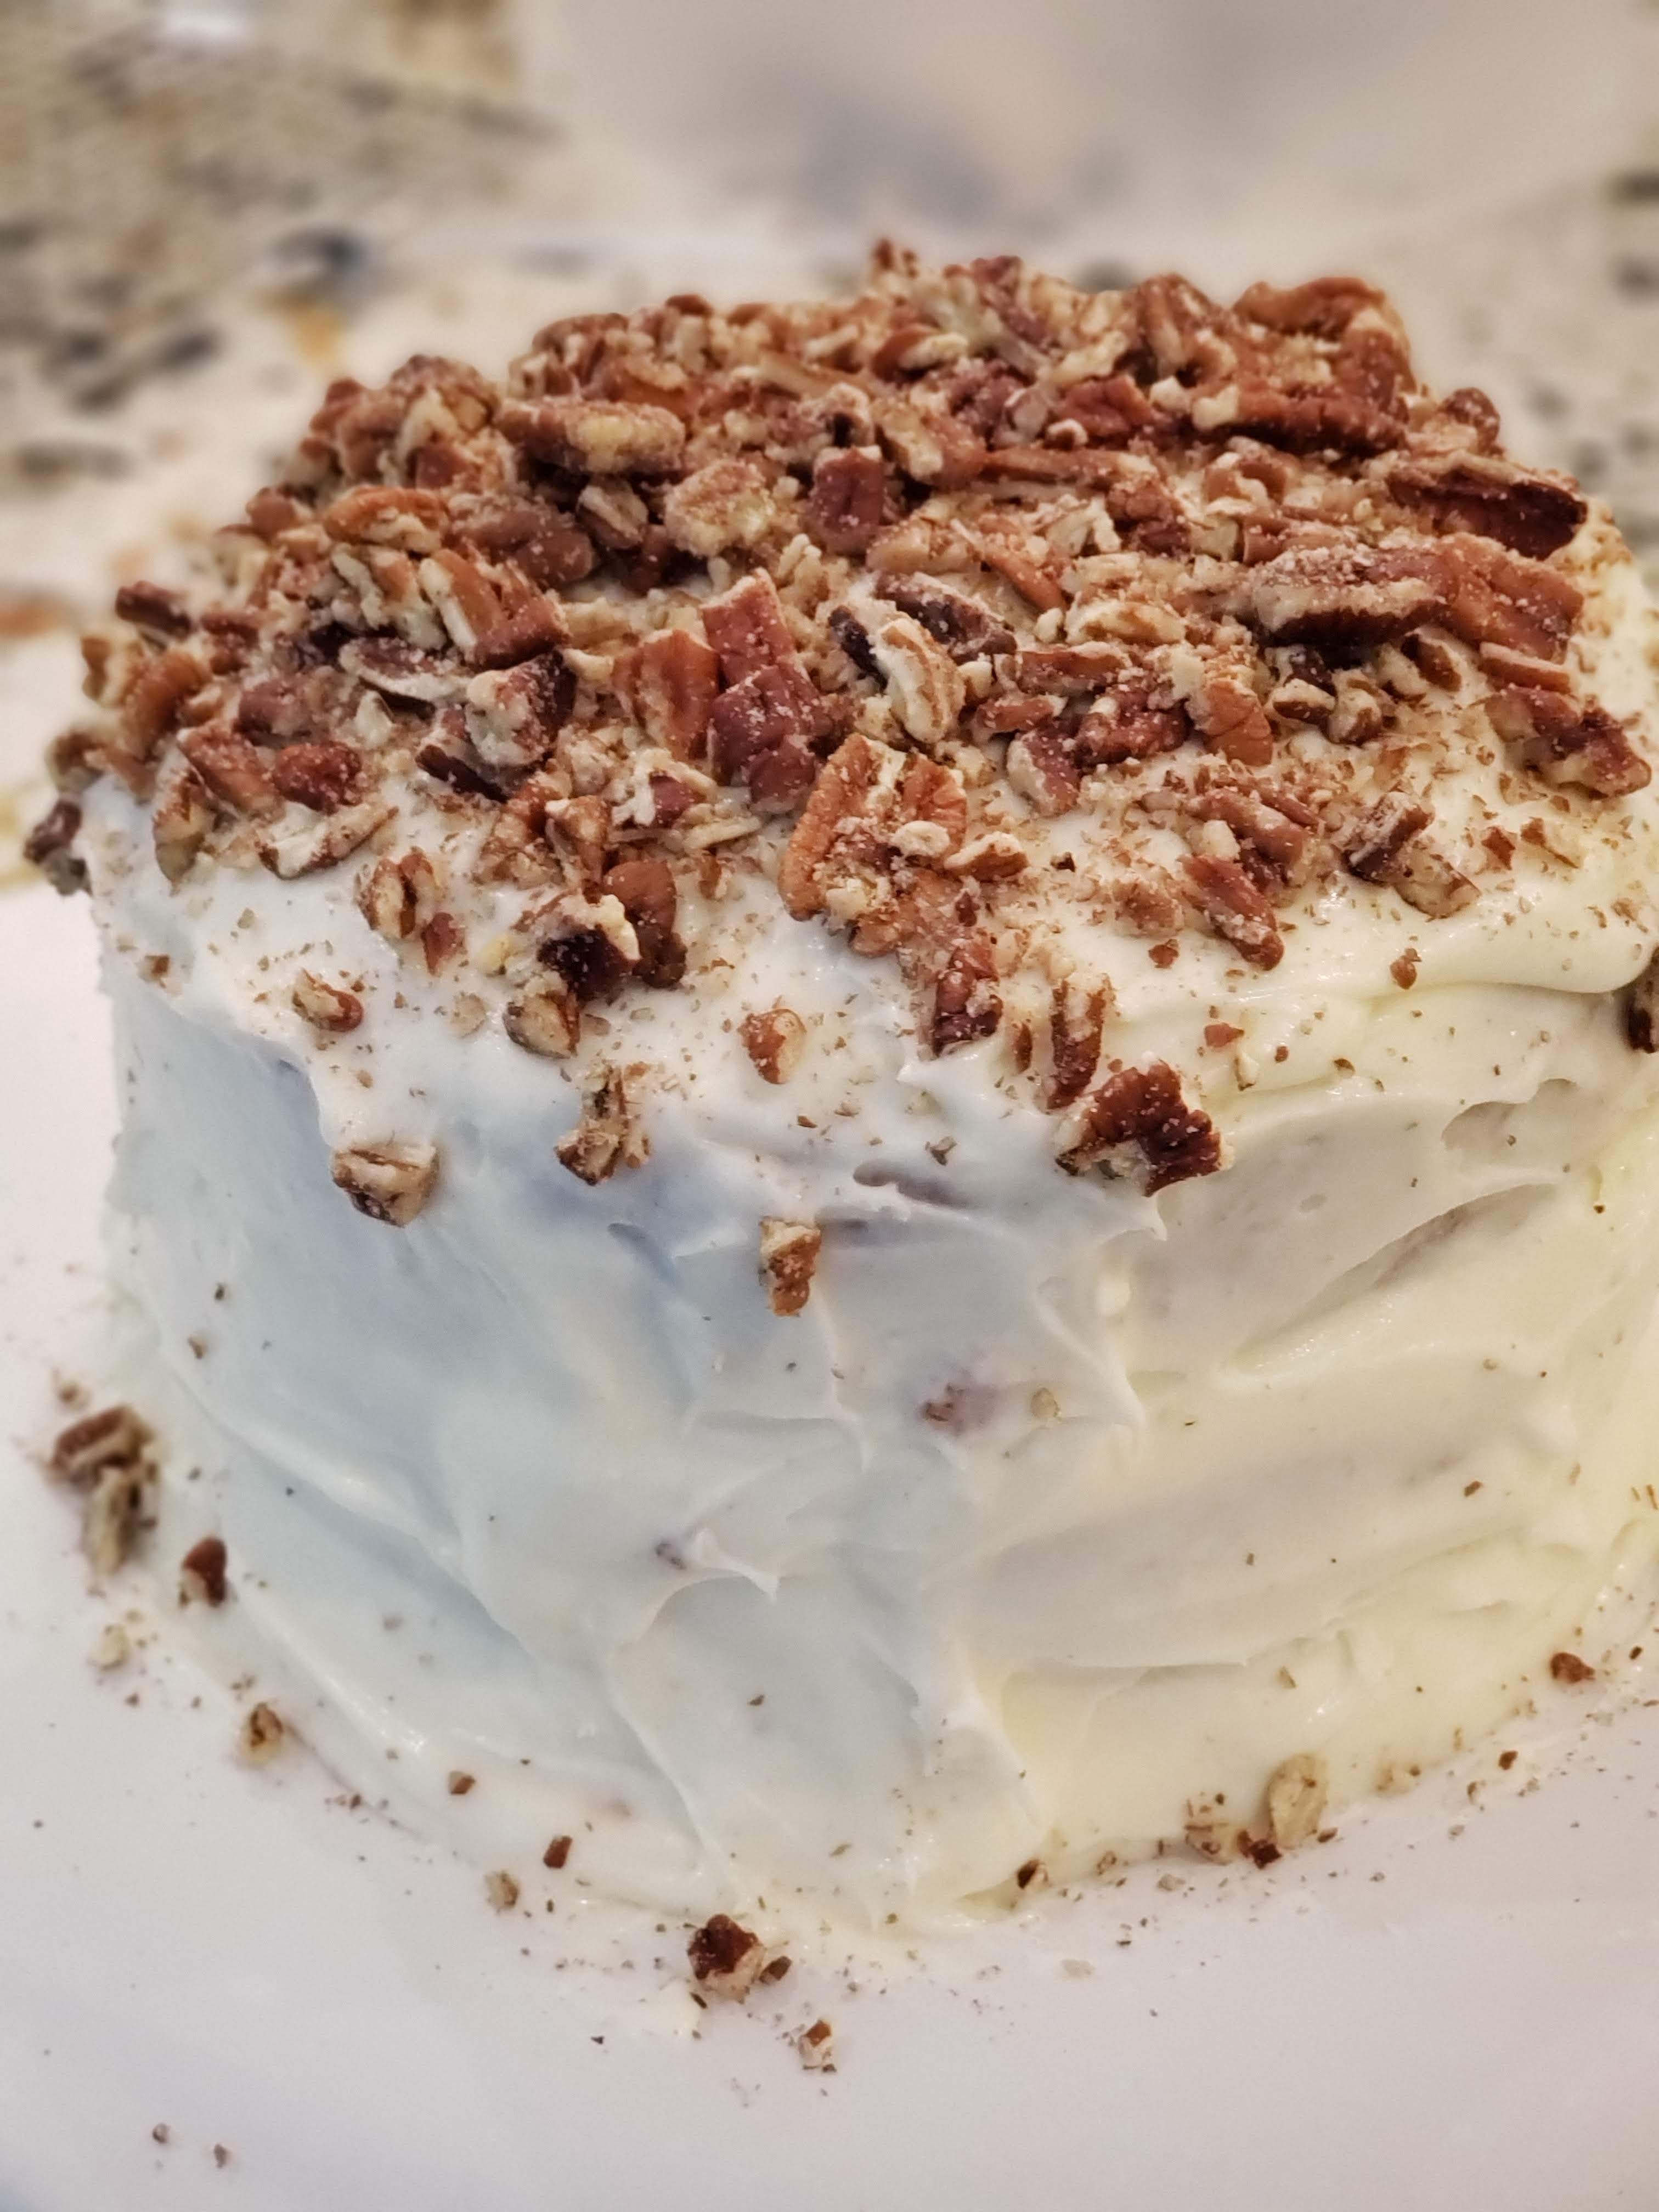
Assemble Cake: Place 1 Cake Layer on a serving platter; spread top with 1 cup of the frosting. Top with the second layer, and spread with 1 cup frosting. Top with the third layer, and spread remaining frosting over top and sides of the cake. Arrange pecan halves on top of cake.

Halloween Muddy Buddies

Our Halloween Muddy Buddies Mix is a festive treat this time of year.  This mix gives you a little salt, a lot sweet, some crunchy and chewy.  We added in our favorite Halloween treats to give it all the fall colors.  You better believe we take handfuls of this chocolatey treat each time we are in the kitchen. 

Keep Singing and Dancing,
Amanda

Halloween Muddy Buddies 

9 cups Rice Chex cereal
1 1/2 cups semisweet chocolate chips
1/2 cup creamy peanut butter
1/4 cup butter
1 t vanilla (I used Mexican vanilla)
1 1/2 cups mini pretzels, slightly crushed
1 1/2 cups candy corn
1 1/2 cups Trader Joe’s Halloween Joe Joe’s Cookies, slightly chopped (or Oreos)
1 cup Reese’s Pieces
3/4 cup powdered sugar
3/4 cup brownie mix


Pour the Chex cereal into a large bowl and set it aside

In a microwave-proof bowl, combine the chocolate chips, peanut butter, and butter. Microwave for 30-90 seconds, stirring every 30 seconds until the chocolate chips are completely melted and smooth. Stir in the vanilla.

Pour the chocolate mixture over the Chex cereal and gently stir with a rubber spatula to coat, trying not to crush the cereal. Divide between two gallon-size Ziploc bags and pour the powdered sugar into one and the brownie mix into the other, then seal and shake to evenly coat all of the cereal.

Spread the cereal out on parchment paper to let the chocolate firm up a bit, for about 20 minutes.

In a large bowl, combine the chocolate coated cereal with the pretzel pieces, candy corn, Trader Joe’s cookie pieces, and Reese’s pieces. Store in an air-tight container. 

Divide mix into separate decorative bags for sweet treats for friends.  

Frosted Cream Cheese Pumpkin Cookies

It’s officially FALL!!  Time to stock up on all things pumpkin.  I have been waiting patiently to share this recipe with you.  It has easily stolen the hearts of my boys.  There is something about the soft pumpkin cookie and cream cheese frosting on top that makes FALL MAGIC.  Your house will smell amazing while you are baking.  If you play “Autumn in New York” by Billie Holiday while baking your kitchen will become a dance floor.  I promise this will become a Fall favorite.

Keep Singing and Dancing,
Amanda  

Frosted Cream Cheese Pumpkin Cookies

2 1/2 cups all-purpose flour
1 t baking powder
1 t baking soda
1 T pumpkin pie spice, plus extra for sprinkling
1/2 t Kosher salt
1/2 cup (1 stick) butter, softened
1 cup granulated white sugar
1/2 cup light brown sugar
1 1/4 cups canned pumpkin 
1 egg
1 t Mexican vanilla

Cream Cheese Frosting
8 ounces (1 brick)cream cheese, room temperature
3 T butter, room temperature
1 t Mexican vanilla extract
2 cups powdered sugar

Preheat the oven to 350°F.  Line your baking sheet with parchment paper.

In a large mixing bowl, whisk together flour, baking powder, baking soda, pumpkin pie spice, and salt until combined.  Set aside.

With a mixer, cream together the butter, granulated sugar, and brown sugar on medium-high speed for 1 minute until light and fluffy.  Add in the pumpkin, egg, and vanilla to butter mixture, and beat on medium-speed until just combined.  Fold in the dry ingredients until just combined.

Using a cookie dough scoop, make a heaping tablespoon of dough.  Drop scoop on prepared cookie sheet by heaping tablespoonfuls.  

Bake for 15 or until the cookies are cooked through and bounce back slightly if you touch them.  Transfer cookies to a wire rack to cool until they reach room temperature.  Then frost with cream cheese frosting, and sprinkle with an extra pinch of pumpkin pie spice.  

Please read: Cookies are ready to serve.  Otherwise, refrigerate in a sealed container for up to 3 days.  In my family’s opinion, the cookies don’t taste the best right out of the refrigerator.  So plan ahead before your event.  Take cookies out of the refrigerator about 1 hour before your event.  

To Make Cream Cheese Frosting:
With an electric mixer, beat cream cheese, butter and vanilla together on medium-high speed until smooth.  Gradually add in the powdered sugar until it is all combined and the frosting is smooth.  If frosting is too thick, add in a tablespoon or two of milk until it reaches your desired consistency.  If your frosting is too thin, add in more powdered sugar until it reaches your desired consistency.

You know I LOVE Trader Joe’s. I used Trader Joe’s Organic Pumpkin and Pumpkin Pie Spice.

Confetti Cupcakes with Buttercream Frosting

I love these cupcakes.  There is something so yummy about the fluffy light cake and the classic buttercream frosting.  Filled with your favorite sprinkles, they are ready to help you celebrate your favorite people.  

Confetti Cupcakes with Buttercream Frosting
(Makes 24 cupcakes)

1 cup milk
5 egg whites
2 t vanilla extract (I used Mexican vanilla)
3 cups cake flour
1 ½ cups granulated sugar
4 t baking powder
½ t kosher salt
¾ cup (1 ½ sticks) unsalted butter, cut into 1-inch chucks, at room temperature
½ cup of favorite sprinkles (I used these from Williams Sonoma)

Preheat the oven to 350 degrees. Position a rack in the middle of the oven. 
Line 24 cupcakes cups with paper liners.

In a small bowl, whisk together ¼ cup of the milk, the egg whites, and vanilla. Set aside.

Using a mixer, mix flour, sugar, baking powder, and salt on low speed until thoroughly combined.  With the mixer on low speed, add the butter, mixing until the mixture resembles coarse sand.  Gradually add the remaining ¾ cup milk and beat for 1 or 2 minutes.  Using a rubber spatula, scrape down the sides of the bowl.

With the mixer on medium speed, gradually add the egg mixture.  Mixing well and scraping down the bowl as necessary.  Gently fold in the sprinkles.

With a large ice cream scoop or spoon, scoop the batter into the prepared cupcake liners, filling them about two-thirds full.  

Bake for 20 to 25 minutes, until a cake tester inserted in the center of a cupcake comes out clean.  Let cool for 15 minutes, then remove the pans and cool completely on a wire rack.

Cool completely before frosting the cupcakes.  

Buttercream Frosting

1 cup (2 sticks) unsalted butter, cut into 1-inch chucks, at room temperature
6 to 7 cups powdered sugar
½ cup milk
2 t vanilla extract (I used Mexican Vanilla)
A few drops of liquid gel food coloring (optional)

In a mixer, cream the butter on medium for 2 or 3 minutes, until light and fluffy.  Add 4 cups of the powdered sugar, ¼ cup of milk, and the vanilla and mix on low speed, until smooth and creamy.  Add the remaining ¼ cup of milk and mix until incorporated, 1 to 2 minutes.  Gradually add 2 cups more sugar, then add up to 1 cup more sugar if the frosting seems thin, and beat on low speed for 3 to 5 minutes, until the frosting is light and fluffy.

If you want to tint the frosting: Add a drop or two of food coloring to the frosting, mixing well, then add more coloring as necessary until you reach the desired shade. If you want multiple colors, scoop frosting into several bowls, then add food coloring. 

The frosting can be used immediately or stored in an airtight container at room temperature for up to 2 days or refrigerated for up to 1 week.  If you refrigerate, bring to room temperature before you use it.  Then transfer the buttercream to a mixer.  Beat on medium-high until light and fluffy, 2 to 3 minutes.  

Amanda’s Apple Crisp

Whether you have already been apple picking or it’s on your “apple bucket” list, you will want to save some apples for this crisp recipe.  All the ingredients play together to make fall come alive. My boys believe it must be topped with a scoop of vanilla ice cream. This Apple Crisp is the perfect fall dessert.  

Keep Sing and Dancing in the Kitchen, Amanda

1570450874495_img_32258466776989246527964.jpg

Warm Apple Crisp

Yields: 12 servings

6 Granny Smith apples, peeled and chopped (other varieties can be used)

2 Tbsp. granulated sugar

1 3/4 tsp ground cinnamon, divided

1 1/2 tsp lemon juice

1 cup light brown sugar

3/4 cup old fashioned oats

3/4 cup all-purpose flour

1/2 cup cold unsalted butter, diced into small cubes

1 tsp of vanilla

pinch of kosher salt

Preheat oven to 350 F degrees.  Butter an 8×8 baking dish. Set aside.

In a mixing bowl, add chopped apples, granulated sugar, 3/4 tsp of cinnamon and lemon juice.  Stir to combine. Transfer to prepared baking dish.

In a separate mixing bowl, add crisp ingredients (brown sugar, oats, flour, 1 tsp cinnamon, vanilla, salt, and diced cold butter).  Use a pastry cutter to mix the butter into the oat mixture, using a slight downward twisting motion, until mixture is in small crumbs.  If you don’t have a pastry cutter, you can use two forks or even your hands to cut butter into the mixture.

Spread topping over apples in baking dish, and gently pat to even it out.  Bake uncovered for 40-50 minutes, until golden brown and bubbly.

Serve warm.  We like to add a scoop of vanilla ice to our Apple Crisp.  Enjoy!  

Strawberry & Blueberry Bruschetta

We are getting ready to celebrate the 4th of July.  Desserts that include strawberries and blueberries naturally give you a patriotic feeling.  This little recipe was inspired by my friend, Erin at The Speckled Palate.  Jump over to her blog to be completely inspired plus she makes meal planning fun!

This little dessert will leave your family and friends wanting more!  Prep is simple and can be done ahead of time.  Feel free to play with the ingredients and make it your own.  Have a happy and safe 4th of July! -Amanda

20190527_1910524611234774130555535.jpg

2 cups strawberries, sliced

2 Tablespoons granulated sugar

1 pint blueberries

1 pre-made Pound Cake loaf (I purchased a Vanilla Pound Cake at Whole Foods)

2 Tablespoons unsalted butter , melted

8oz of Cream Cheese,  allow to sit at room temp for 15 to 20 minutes

1/2 cup of powdered sugar

1 teaspoon of vanilla

Wash & Dry your strawberries and blueberries.  Slice your strawberries.  Toss  strawberries with 2 tablespoons of sugar.

Slice your pound cake into 1inch (or less) thickness. I made sure to make 12 slices to have enough for dessert.   Brush the pound cake slices with melted butter.  On a preheated grill or grilling pan, toast both sides of your pound cake.  Let the pieces set long enough to get grill lines.  Once all slices are toasted, set aside and allow to cool.  

With a mixer, combine cream cheese, powdered sugar, and vanilla.  Once all combined, place in refrigerator until ready to create dessert.

When you are ready to serve dessert, place your pound cake slices on a serving platter or individual plates.  Smear the cream cheese mixture on to your cake slices.  Make sure there is enough cream cheese mixture to allow the fruit to stick to your cake slices.  Then top that with a tablespoon of strawberries and their juice. Add blueberries by giving them a little push to stay on the cake slices.  Serve immediately, or let stand in the refrigerator until ready to serve.  

Lemon Sugar Cookies

It is clear that I live in a house of cookie monsters.  My boys love to see the cookie jar filled with cookies.  This past week we created a new sugar cookie.  I love adding lemon to desserts.  Lemon makes foods taste fresh.  These cookies were easy to make.  The boys loved them and we have decided they will be part of the cookie rotation.

20190518_204108677294873783593460.jpg


1 cup Butter cold, cut into cubes

2 cups Sugar

2 Eggs

1 t  Vanilla Extract (I used Mexican Vanilla)

1 1/2 Fresh Lemon Juice

1 T Lemon Zest  (you can add more to add extra flavor)

3 cups Flour

1 1/4 Baking Powder

1/4 Baking Soda

1/2 Salt


Preheat oven to 350 degrees.
Using a mixer, cream butter and sugar for 4 minutes until light and fluffy. Add eggs, vanilla, lemon juice, and lemon zest and stir to combine.
Stir in flour, baking powder, baking soda, and salt and mix just until combined.
Spoon about a tablespoon of dough and roll into a ball.
Drop dough onto a prepared baking pan.  Sprinkle the rolled dough balls with white sugar.
Bake for 9-11 minutes. Remove from pan and allow to cool on cooling rack.

Pumpkin Creme Brûlée

I recently discovered Natasha’s Kitchen. She has tons of great recipes that have awesome pictures, easy to follow directions, and a fun sense of humor. The other night I made her Pumpkin Creme Brûlée for dessert. Oh my goodness! It was a hit. Plus my hubby got to play with the torch to make the caramelized topping. He actually let Whitaker take a turn with the torch. This dessert is a perfect addition to your Thanksgiving dessert bar or any fall time meal. Enjoy and check out Natasha’s site!

Pumpkin Creme Brûlée

1 3/4 cups heavy whipping cream

3 large whole eggs

1/2 cup sugar (plus extra for caramelizing)

1 cup pumpkin puree (make your own or use the can stuff)

1/4 t ground cinnamon

Preheat your oven to 300 degrees. In a medium bowl, whisk together 3 whole eggs and 1/2 cup sugar until well blended. Heat 1 and 3/4 cup heavy whipping cream in a sauce pan, almost to a simmer; stirring frequently. You don’t want to burn the bottom. Slowly add hot cream into the egg & sugar mix. You need to pour & whisk slowly as you are combining the hot cream with egg & sugar mix. Or you will end up with scrambled mess!

Next, strain the mixture through a small mess strainer into a bowl. Whisk in 1 cup pumpkin puree and 1/4 tsp cinnamon.

Divide the mixture into 8 (4 oz) cups and place in a large casserole baking dish. You might need more than one baking dish. Fill the baking dish with boiling water about halfway up the sides of the ramekins.

Bake at 300 degrees for 35-40 minutes. The centers of the creme brûlée should barely move when you wiggle the pan.

Cool to room temperature, then cover and refrigerate creme brûlée until ready to serve; you can refrigerate them even a week before your event.

When you are ready to serve, you can caramelize the top. Put 1 teaspoon of sugar on top. I used Vanilla Sugar from Beautiful Briny Sea made right here in Atlanta, Georgia. Spread sugar evenly over each custard. Heat the top with your torch. (This is my husband’s favorite part. Guys just love fire.) Keep torching until you have a caramelized top.

Once you have caramelized the top, do not refrigerate. This will cause your topping to not be crisp.

Ooey Gooey Butter Leprechaun Cookies

I  wanted to created some cookies to celebrate St. Patrick’s Day.  We combined a few recipes to get this final result.  This recipe allows for different extract flavors to achieve the flavor you want.  Also you can use a different food coloring gel to match whatever you need.  These cookies live up to their name.  They are ooey and gooey.  If you like a crisp, crunchy cookie, keep on moving.  Add a little fun to your St. Patrick’s Day celebration!

Looking Forward,
Amanda

20180314_221250(0).jpg

Ooey Gooey Butter Leprechaun Cookies

2¼ cups all-purpose flour

2 t baking powder

1 (8 oz.) package cream cheese,  softened

½ cup unsalted butter, softened

1½ cups granulated sugar

2 t  vanilla extract (I used Mexican vanilla)

1 t  almond extract (you can use mint extract if you want to give that edge.  A good friend of mine said she might use Key Lime extract)

Green food coloring, gel based (this is where you can change colors for other celebrations)

1 t kosher salt

1  egg plus 1  egg yolk

1 cup powdered sugar for rolling & dusting cookies

In a medium bowl, whisk together flour and baking powder until well blended. Set aside.

Using an electric mixer cream together cream cheese and butter until creamy and smooth. Beat in granulated sugar, extracts, salt, and desired amount of green food coloring.   Mix until well combined. Be sure to scrape sides of the bowl to make sure all gets mixed in. Add egg and egg yolk and beat until creamy and light.

On low-speed, gradually add flour mixture and mix until just fully incorporated. Dough will be very sticky. Cover bowl and refrigerate at least 5 hours or overnight.

Preheat oven to 325 degrees.  Line two baking sheets with parchment paper; set aside. Place powdered sugar in a pie plate; set aside.

Use cookie dough scoop to measure dough.  Then roll dough in hands to create 1-inch balls.  (your hand will turn a little green if you used a lot of green food coloring you can live with it or use disposable rubber gloves)

Then roll in confectioners’ sugar to lightly coat. Place dough balls on prepared baking sheets at least 2 inches apart.

Bake cookies for 12-14 minutes.  Cookies should look puffy and crackly.  The cookies will still be soft in the centers. If they start to brown around the edges, they have baked too long. The underside of the cookies should be only very lightly browned.

Remove from oven and allow cookies to cool on baking sheet.  Then move cookies to a wire rack.

Keep cookies in airtight container.  Then can stored at room temperature or in your refrigerator.  


Chocolate Corn Flakes Chocolate Chip Cookies (It’s a Yummy Mouthful)

It should be pretty clear by now that my boys LOVE cookies.  I am raising actual Cookie Monsters!  We have a glass cookie jar that sits on the counter.  Usually that cookie jar displays the recent cookie that have been made in our kitchen.  I love hearing the sound of the jar being opened up.  A slight clang of glass and you know someone is in the cookie jar.  I love hearing my oldest and his friends getting into the cookie jar.  There is something magical about boys gathering around for a snack after shooting hoops or a long day at school.

As the cookies start getting low, I am quickly reminded that we will need more soon. We have several recipes that are always classics in this home.  The Classic Chocolate Chip Cookie and  M&M Cookies are our usual standbys because the ingredients are simple and always on hand.

My soon-to-be four year old was eager to make cookies last week.  I told him we were going to mix it up and add one of his favorite cereal- Kellogg’s Chocolate Frosted Flakes. He was beyond thrilled to help with the process.  The cookies were super easy to make and turned out perfect.  You can always use plain corn flakes for your cookies.

Looking Forward,
Amanda

20180216_134825.jpg

Chocolate Corn Flakes Chocolate Chip Cookies

1/2 cup shortening

1/2 cup butter, softened

1 cup sugar

1 cup brown sugar, firmly packed

2 eggs

1 1/2 t vanilla

2 cups all-purpose flour

1 t baking powder

1 t baking soda

1 cup regular oats, uncooked

1 cup chocolate corn flakes cereal (picture below)

1 1/2 cup semisweet chocolate chips and additional 1/2 cup for topping

Preheat oven to 350 degrees.  Line your baking sheets with parchment paper.

Beat shortening and butter at medium speed with an electric mixer until creamy; gradually add sugars.  Beat until all combined.  Add eggs one at a time.  Then add vanilla.

In a separate bowl, combine flour, baking powder, and soda.  Gradually add to butter mixture.  Mix well.  Stir in oats, chocolate corn flakes, and chocolate chips.

Using a cookie dough scoop, drop dough 2 inches apart on your baking sheet.

20180216_092433.jpg

I always add extra chocolate chips to the top of my cookies before baking. It adds more chocolate and makes your cookies look good too!

Add additional chocolate chips to top off cookies.  Gently press in the chocolate chips. Bake for 8 to 10 minutes.  You want the cookies to be lightly browned.  Remove cookies and place on a wire rack for cooling.

And yes, this is Whitaker’s current favorite cereal:

20180216_092603.jpg